
People who are facing problem in adding Schema Mark Up to their content management site can now do it easily and in a hassle free manner. This also doesn’t require the person to be from a technical background or have past experience with coding. Let us read below to understand more.
Information about Google Tag Manager
A free tool provided by Google is the Google Tag manager which can easily update and add new tags to a website. This can be done by a person who is not from a technical background as well. Let us help you explain the complete procedure through which you can add schema mark using Google Tag manager to your website.
Understanding the components of a Google Tag Manager:
- Data layer: The data layer helps to store information about how users are behaving on your website. The data layer also helps you understand the way in which users on your website interact with the uploaded content.
- Tags: HTML code which is seen when a reader is on your website.
- Container: It contains the tags and macros.
- Macros: The macros has some pre set form of conditions which allows execution of rules.
- Trigger: When any specific page is being viewed, the trigger helps to fire the tag on the website.
What is Schema Mark up?

Schema mark up helps in addition of structured data to any website. Structured data is information written in a manner which makes it possible to be clearly understood by each and every search engine across the globe. It is vital to have schema mark up on your website as it helps search engine to comprehend the information present on your website and show it during any searches. Being a part of SEO, this is quite easy to implement. Also it is necessary for competing with search engines.
Today search engines are using the help of schema mark up to understand about pages.
8 Step Procedure to Add Schema Markup
Since the basics about Schema Mark up and Google Tag Manager are clear, go through the below step wise procedure to understand how to add it.
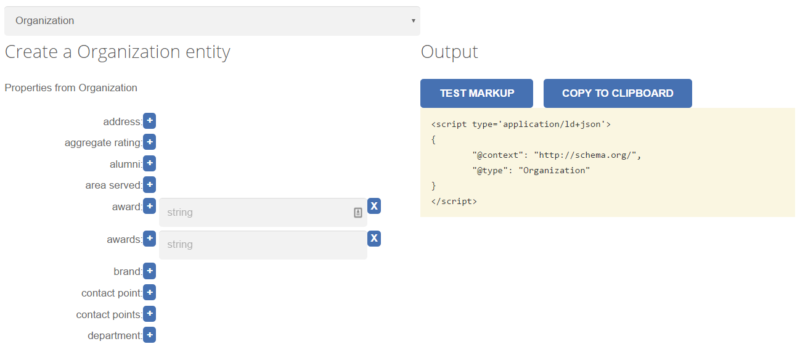
1. JSON – LD Mark up creation
The schemaapp.com is quite useful in creation of JSON- LD creation. It is very simple where you need to add the basic properties which you want to add in the schema mark – up. Next simply copy the JSON – LD code on your clip board.
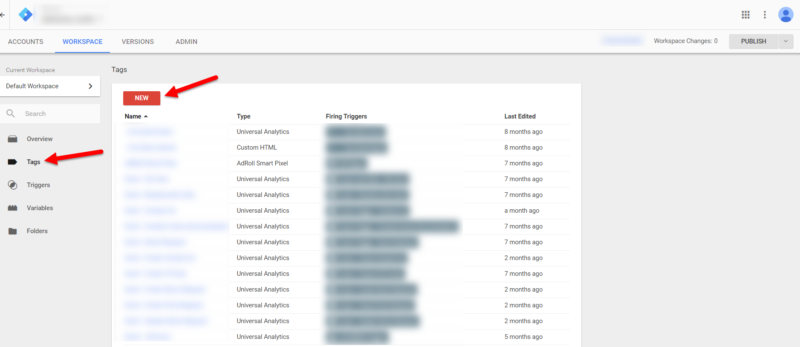
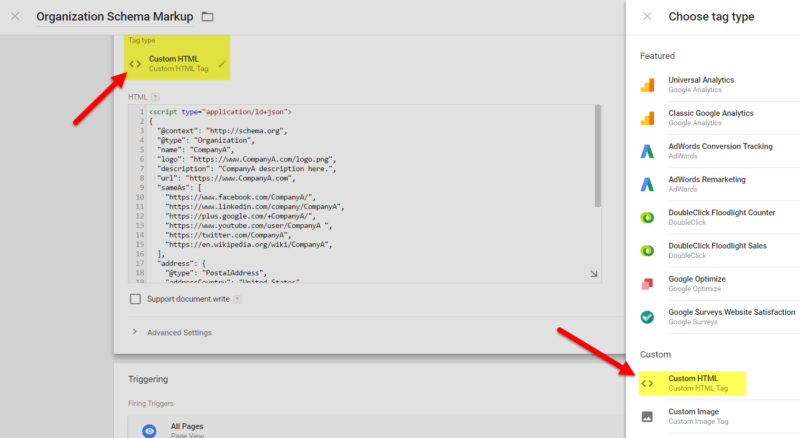
2. Custom HTML Tag creation
Next step is the creation of a new HTML Tag under the Google Tag Manager. You can give it an appropriate name.
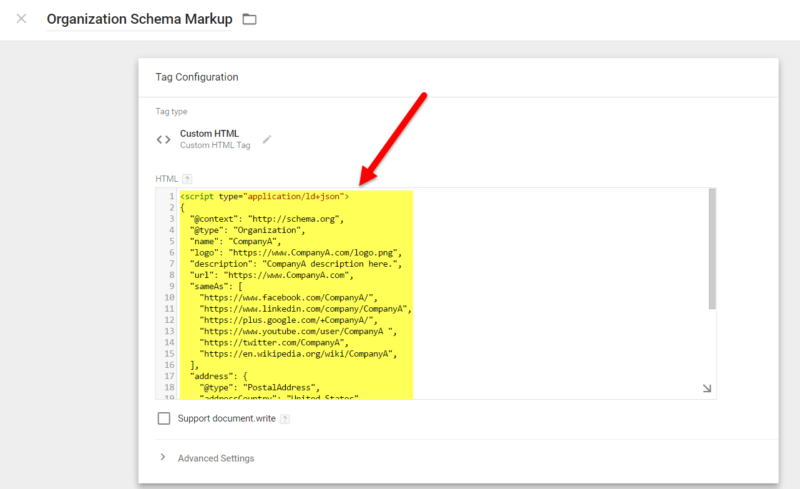
3. Pasting in the HTML Box
The next step is to conveniently paste the JSON – LD mark up in the customized HTML text box created in the previous step.
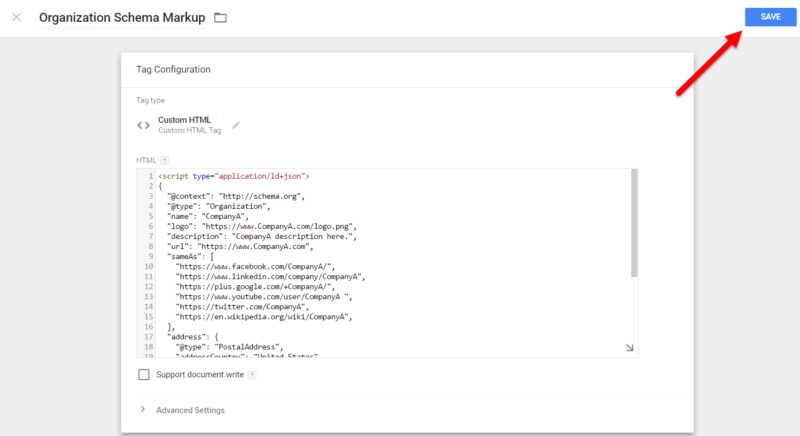
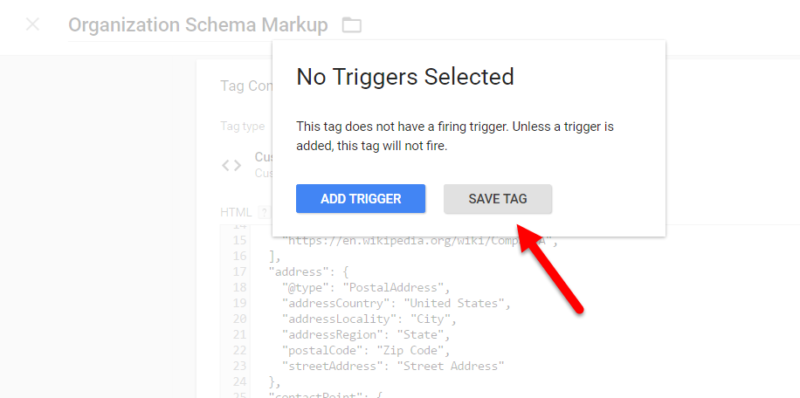
4. Save the HTML custom tag
You will easily find a save button in blue color on the top right corner of the page. Click this save button. After that, a pop – up message will appear as ‘no triggers selected’. Next, again click the save tag button (in grey color).
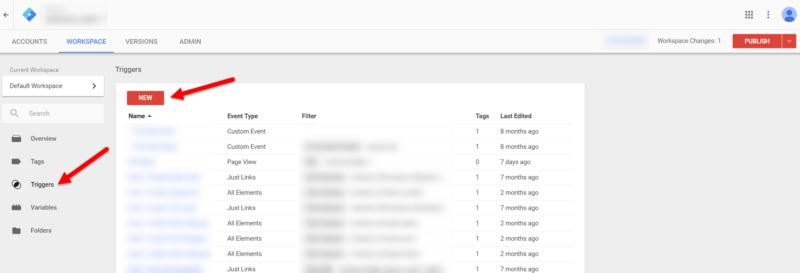
5. New trigger creation
Next step is the creation of new triggers where your tags can fire. Selecting the page view trigger can be done from the right side of the screen. You can name this trigger as ‘page view’.
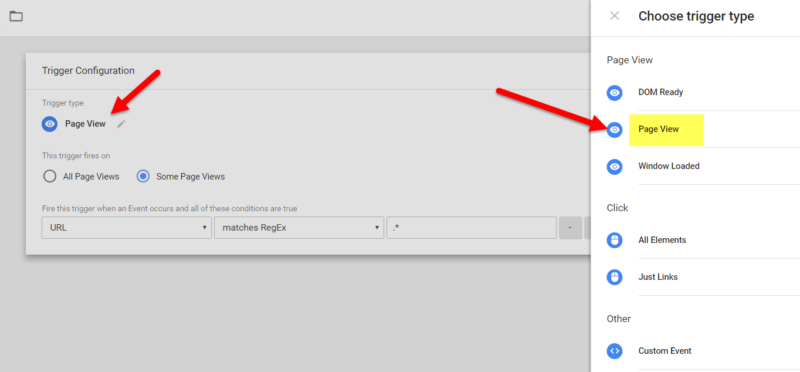
6. Configuration of the page view trigger
The page view trigger which was created in the above step have to be configured which makes it possible to fire in case of all page views. Afterwards click the save option.

7. Connecting trigger with schema markup
After opening the Schema mark-up trigger which was created previously, select the ‘page view’ trigger so that the tag can fire and you can save.


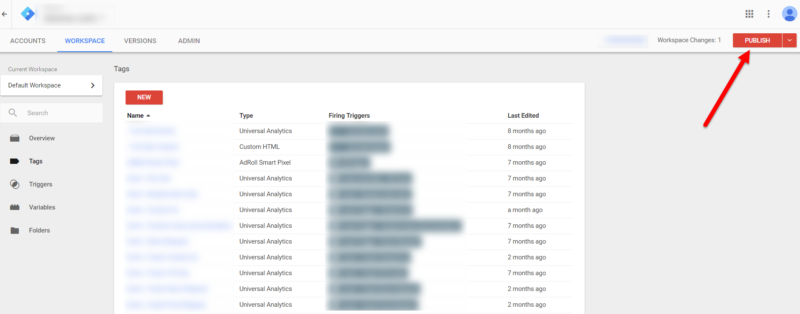
8. Publish Tag manager container
Publish button is present on the right hand corner, click it.
9. Testing the mark up
Conveniently test the schema mark up with the testing tool to ensure its validation.

The above-mentioned step-wise procedure is beneficial for everyone to add Schema Mark up to their Google Tag Manager. Contact Sassy Infotech for SEO Services, We are one of best SEO Company in Surat, India to get quick skyrocket leads for your business.